The dining table is one of the central places in the house; it will add character to your interior and is suitable for large family or friendly gatherings. However, it can be challenging to find a piece that would fit perfectly into your kitchen or dining room so that it harmonizes with other furniture. There will always be a detail that will repel. In this case, a custom-made product may be the only way to get what you want. But if you have ideas, some free time and a minimal set of tools, why not make a dining table yourself? With a little effort and step-by-step instructions, you can create a wooden table with your hands.
Let's figure out what requirements a dining table must meet, what nuances to pay attention to, and what kind of wood suits its creation.
Important points
Remember and consider the following points when you think about creating a dining table with your own hands:
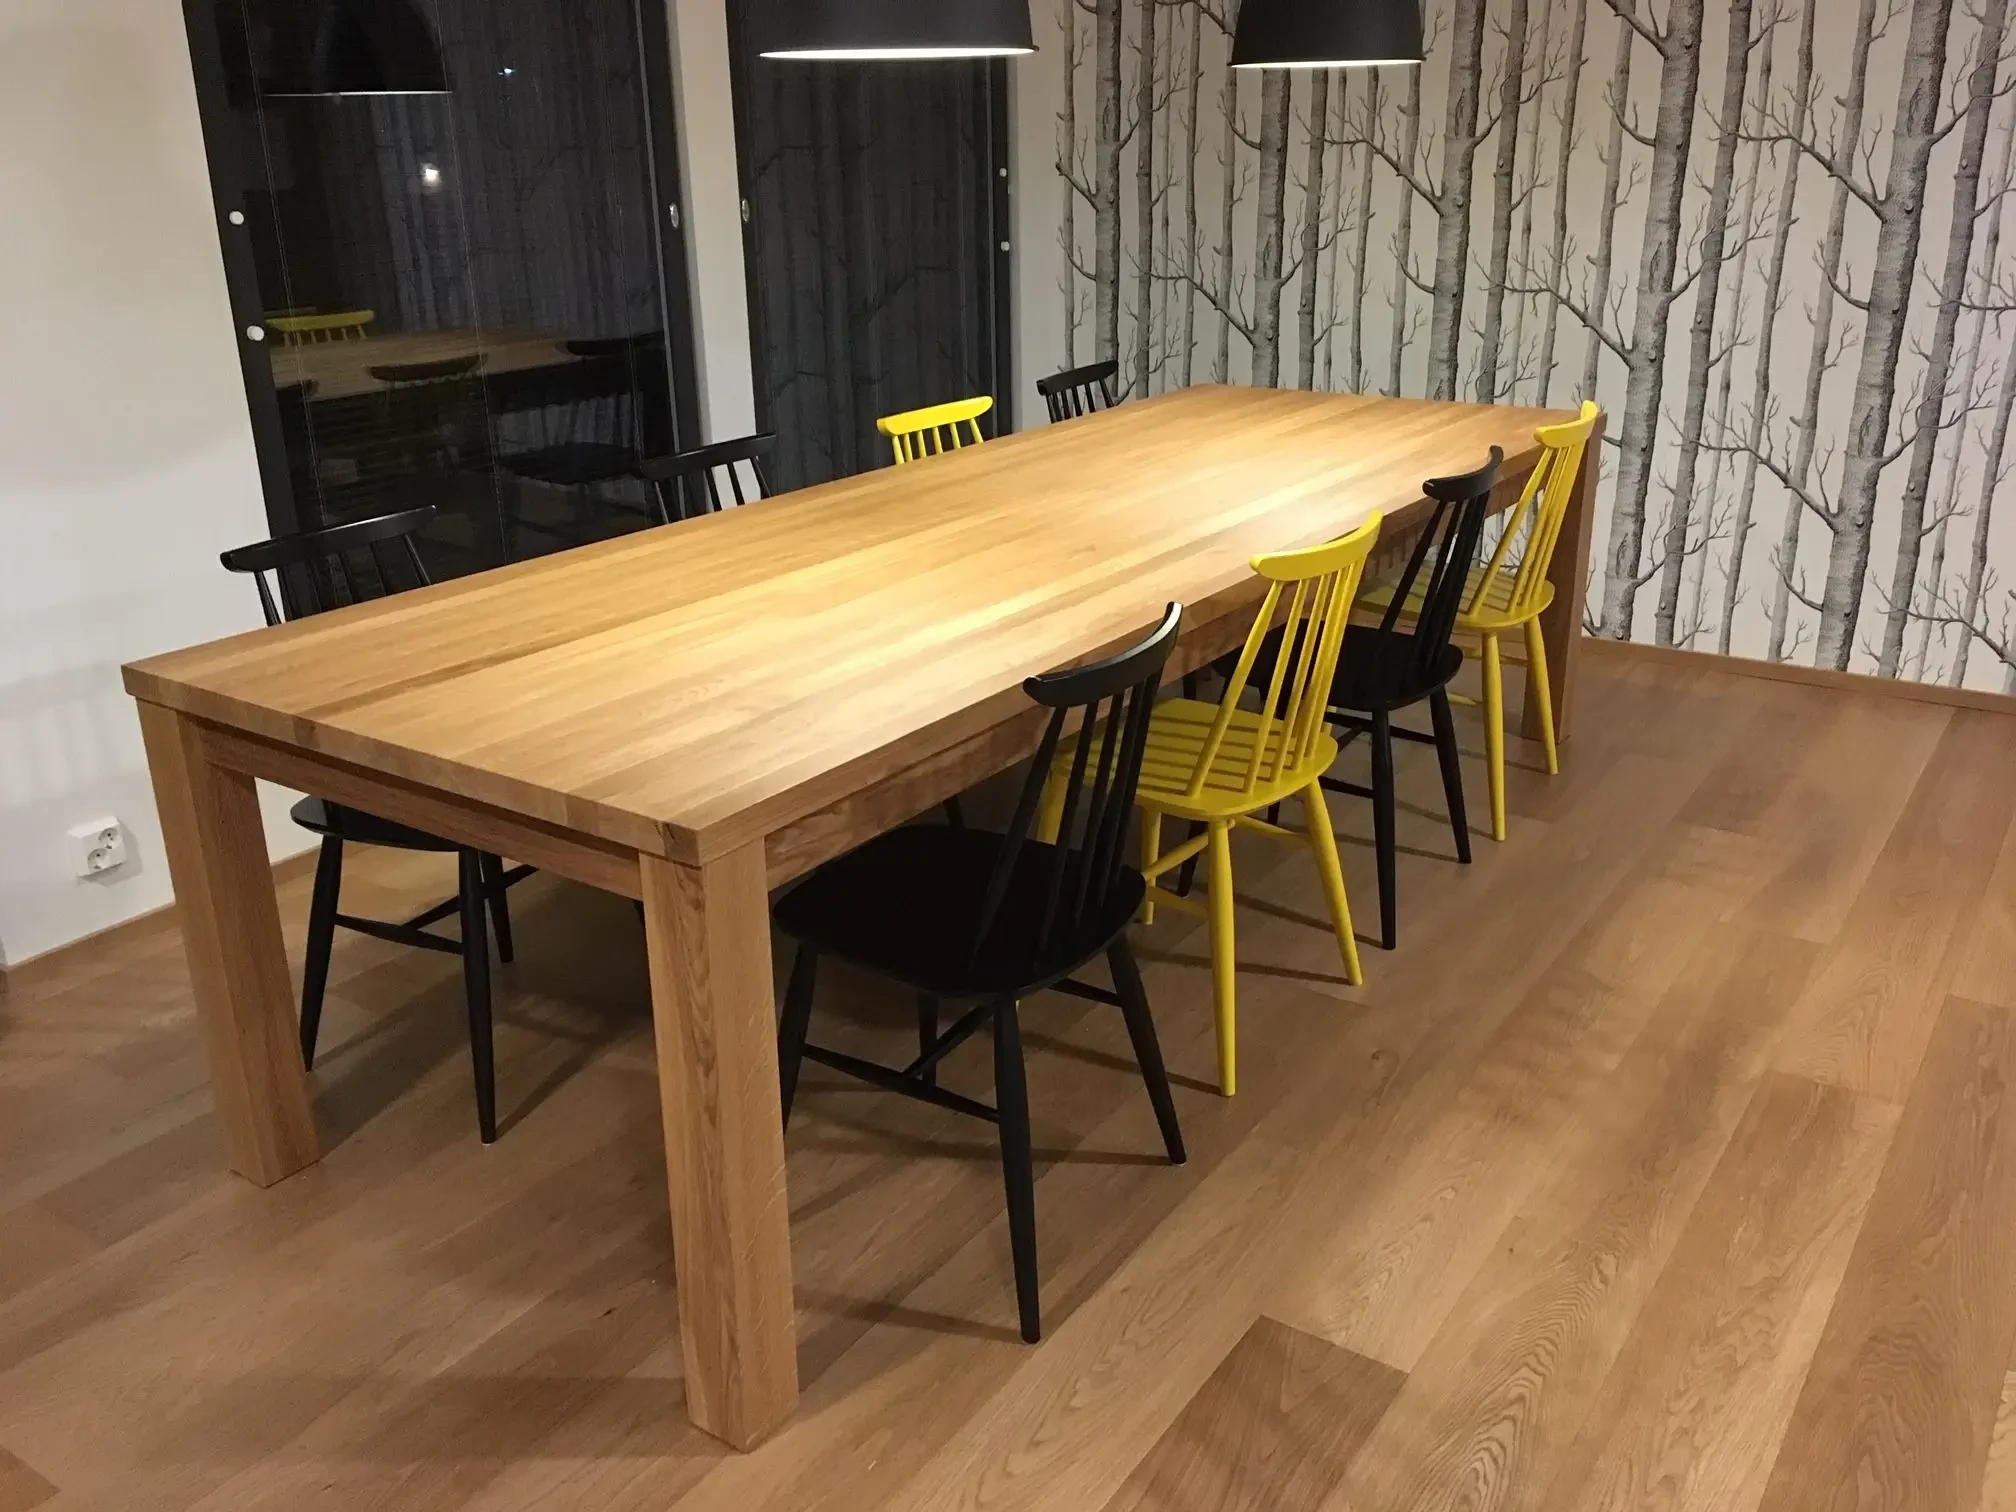
- The size depends on the number of people in your family. The larger the family, the larger the table. Be sure to calculate the space required for one person, and based on this data, calculate the size of the future table.
- The size depends on the area of the kitchen. For a small kitchen, to save space, it is recommended to opt for round tables, which are very easy to assemble and ideal for a family of 2 people.
- When creating a large table, you will need the help of at least one person.
- Think about the placement of the legs in advance so that they do not interfere with seating.
- The choice of wood is a matter of personal preference and capabilities. On our website, you will find ready-made furniture panels from different species: oak, ash, birch, beech, cherry and much more. The shields presented differ in length, width, and thickness. Also, remember the characteristics of each type of wood.
- Prepare a drawing of the future table in advance, correctly calculating everything down to the millimetre.
The process of creating a dining table should be prepared as carefully as possible, and all points should be taken into account.
Beautiful, durable and unique! – top 3 ideas for the dining table
It all starts with an idea! Consider what style you want to make your dining table and find drawings. We are sharing options that will fit perfectly into the kitchen interior.
1. Scandinavian
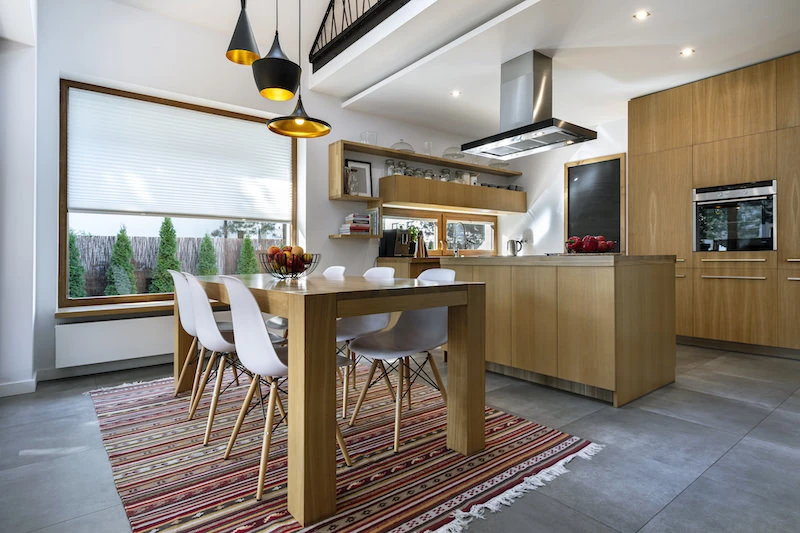
Scandinavian-style dining tables are "universal soldiers" in light colours with a hint of minimalism. This is one of the most fashionable trends at the moment. These tables bring softness and a cocoon atmosphere to the dining room.
Our advice: choose a furniture board made of light wood, such as pine, beech or oak. As for the legs, ideally, pay attention to steel products. You can also make the legs from light wood - beech or oak- great.
2. Industrial
This style is characterized by dark wood combined with raw steel legs. When combined with other steel elements in the kitchen or dining room, the industrial table will give the room an authentic look.
Our walnut furniture panels are ideal for creating an industrial-style dining table.
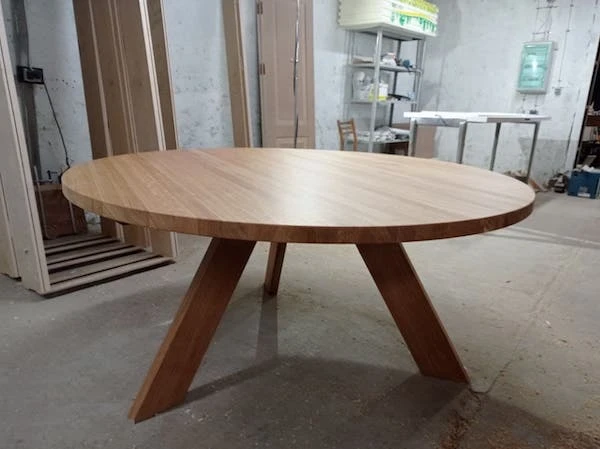
3. Round dining table
A round item will be an excellent solution to save space in the kitchen or dining room. In combination with beautiful chairs, it looks harmonious. Here, the choice of wood is extensive; you can choose both light and dark species.

From an idea to the dinning table
It's time to move on to the most important thing - making the table. Before buying all the essentials, draw the future table - manually or using a particular program. There are also ready-made drawings with detailed calculations. This will let you know how much material you need.
It is worth noting that material requirements depend on the size of your table. The thickness of the tabletop must be at least 25 mm if we are talking about table dimensions of 1800 x 800 mm. It is better to take material from 30 mm to make a larger table. In that case, the visual proportions will be considered.
What do you need for the manufacturing of a basic dinner table?
- 1 tabletop, e.g. 1800 x 800 x 28 mm;
- 4 beams, for example 100 x 100 x 730 mm;
- Two boards, for example, 25x100x1800 mm (vertical frames)
- Two boards, for example, 25x100x800 mm (horizontal frames)
- screws, bolts, nails;
- wood oil/wax;
- brush, sponge and cloth;
- sandpaper with a grain size of 120 microns.
Among tools, you will need:
- Saw or jigsaw;
- Sander;
- tape measure, level, pencil;
- drill or screwdriver with a set of drills;
- self-defence equipment (glasses and gloves).
You are already halfway to what you want; when everything is ready, get to work. Step-by-step instructions will help you make the table correctly.
Step-by-step instructions for making a table
Step 1. Preparing the countertop
Use a furniture board; this will save you time preparing the tabletop from 0 manually. You only need to "adjust" it to the required dimensions, polish it, and dig it with two layers of oil/varnish.
Step 2: Make legs with frames
Modelling the legs on paper is crucial because they can be of the most unimaginable shapes. Make a drawing and decide how the legs will be placed. The simplest placement option is parallel to each other.
Cut the legs to the desired length and shape, then connect them in pairs - use vertical frames for this. Remember that the legs need to be sanded and given a beautiful appearance. Secure them with dowels, for which you drill holes in the legs and plank.
Important! If you find it challenging to align the legs, use special corners.
When you have two pairs of supports, connect them with horizontal frames.
Step 3. Connect the legs and tabletop
The process ends with the tabletop being attached to the resulting construction. If you use glue for fastening, wait until the adhesive composition dries before processing the table.


